Manage spaces
Spaces are specific places in a building, such as the library, a classroom, or the office.
Before users with the Manage Site Settings administrative permission can add, edit, or inactivate spaces, they must add buildings.
There are several actions you can take on the Spaces page, including:
- Add or edit a space
- Export all spaces to an Excel file
- Mass update space fields
- Create a QR report
You can customize your view of this page, such as filtering data, and sorting and adding columns.
- Select Locations > Manage Spaces or Settings > Setup Items > Manage Spaces. The Spaces page appears.
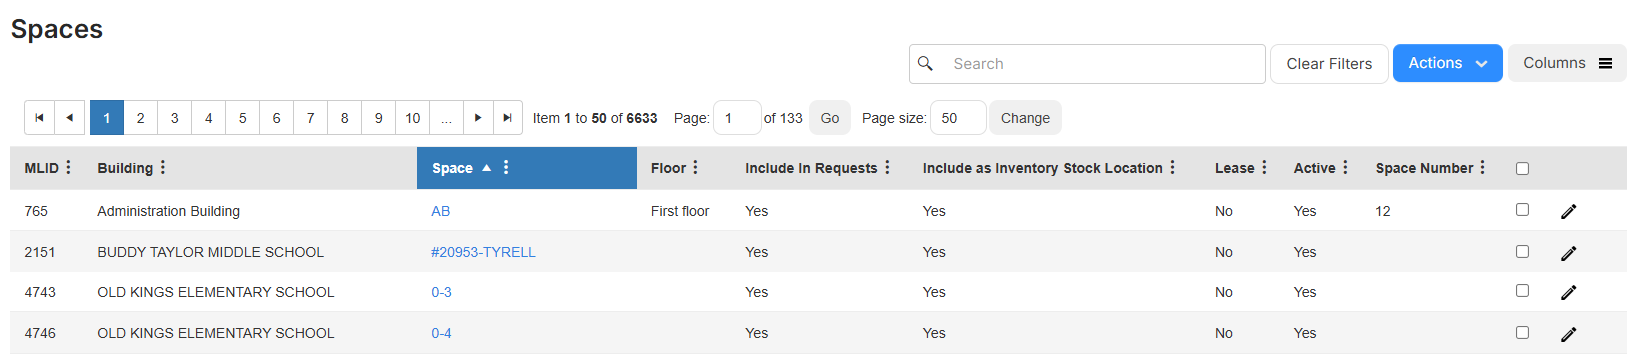
- Select Actions > Add Space. The Edit Building Space page appears.
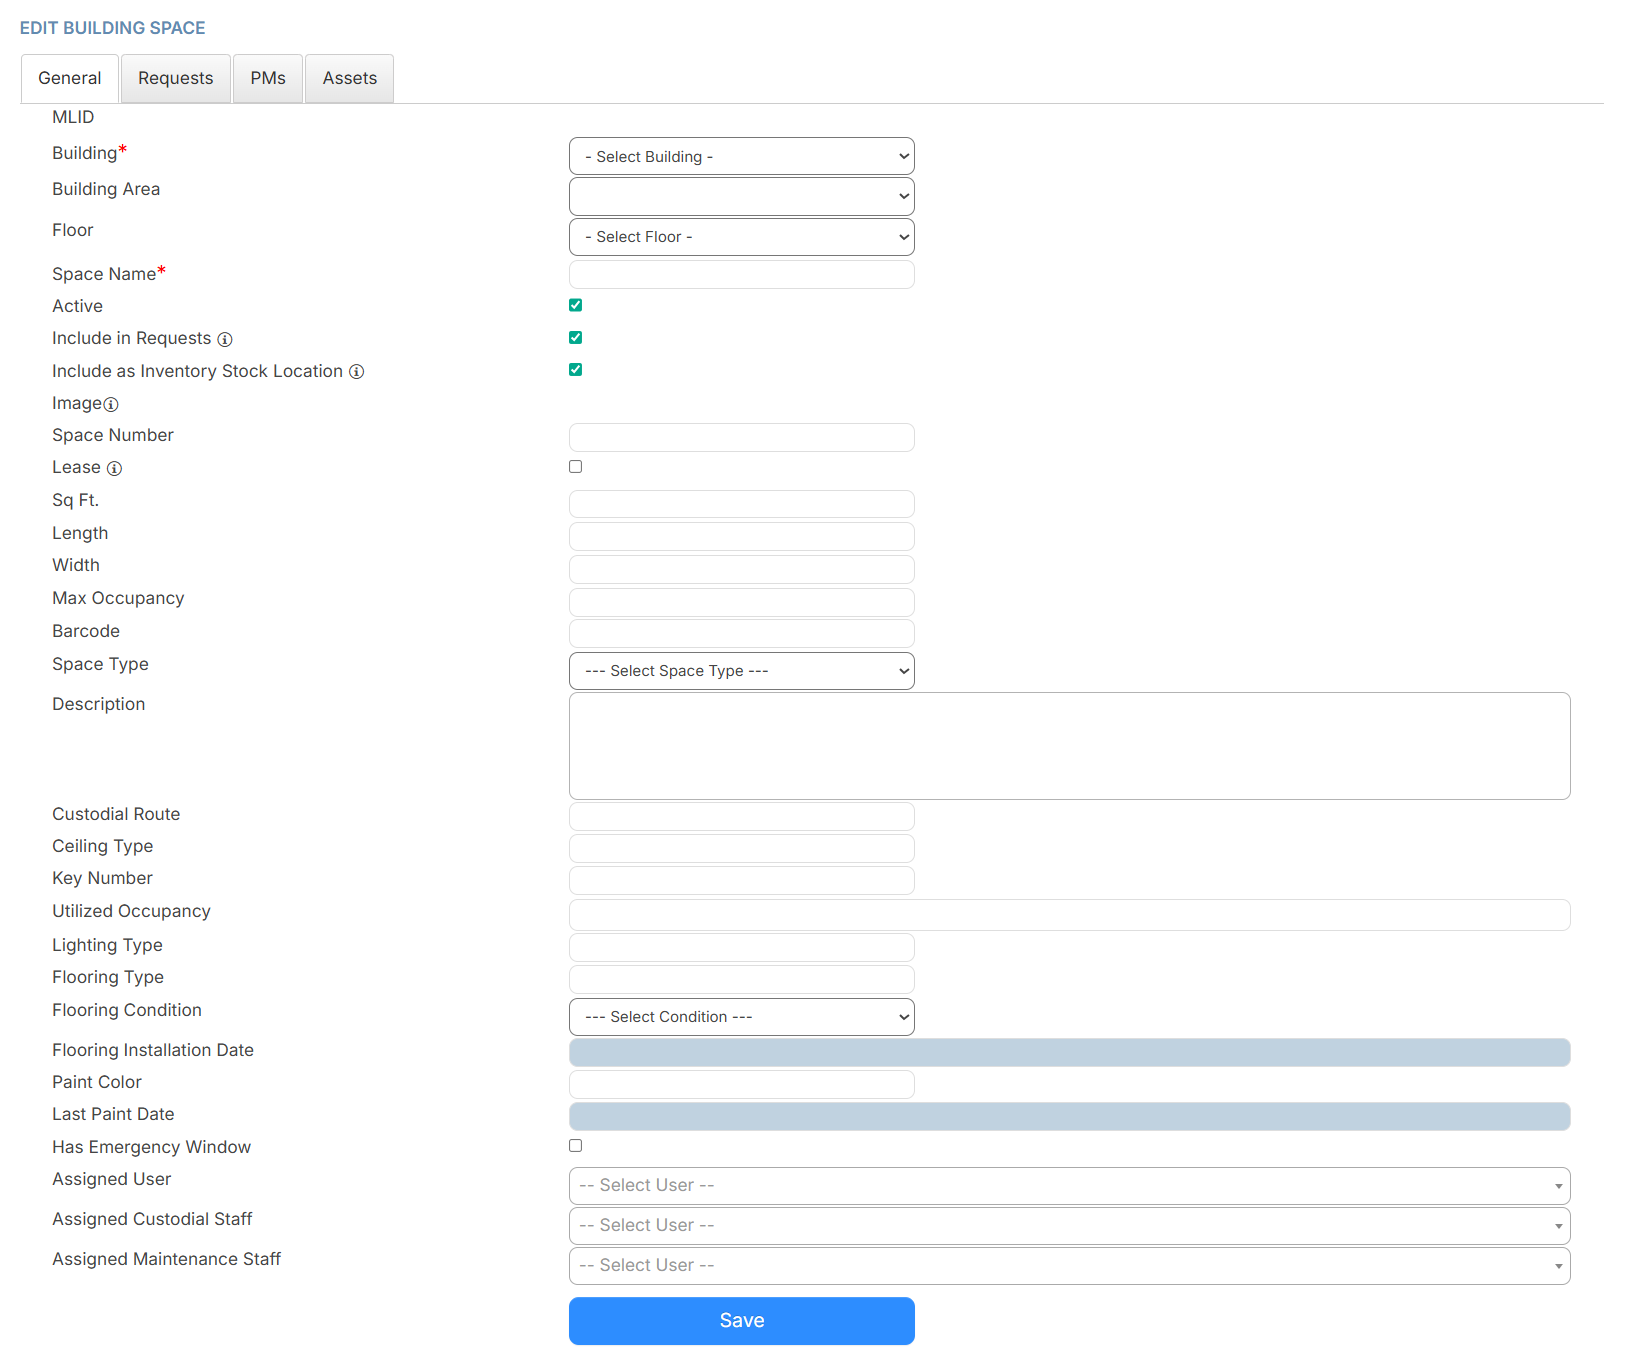
- Select a Building.
- Select the Building Area and Floor.
Note: Floors that appear are based on the selected building.
- Enter the Space Name.
- To hide this space, deselect the Active checkbox.
- If the space should not show up in requests, deselect the Include in Requests checkbox.
- If the space should not be included as an inventory stock location, deselect the Include as Inventory Stock Location checkbox.
- To add an Image, click
 . After you find the image, click Open.
 - Complete as many of the remaining fields as possible.
- To add a Note, type it in the field, and then click Save.
- Click Save.
Any requests, PMs, and assets associated with the space appear on the applicable tab.
To edit a space, including its note, image, or if it's active:
- Select Locations > Manage Spaces.
- Do one of the following:
- Next to the space you want, click
 .
. - Click the space name. On the space detail page, click Edit.
- Next to the space you want, click
- Do any of the following:
To... Then... Edit the space - Make the desired edits.
- Click Save.
Edit a note - Next to the Note you want to edit, click .
- Click Save.
Delete a note - Next to the Note you want to delete, click
 .
. - Click Yes.
Delete an image - Click Manage Images.
- Next to the image you want to delete, click
 .
.
Inactivate the space
Note: Inactivating a space prevents it from being associated with new requests, but keeps past data. - Deselect the Active checkbox.
- Click Save.