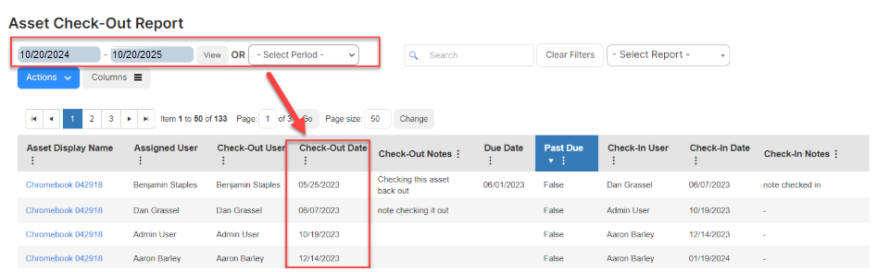
Run an Asset Check-Out Report
Users with the Edit Asset or View Asset role permission can run an Asset Check-Out Report, which shows all asset checkouts in a date range.
For example, if asset "Chromebook 100" was checked out 5 times between 9/1/2024 and 8/31/2025, you would see 5 rows, one for each unique checkout.
You can customize your view of this page.
To view the Asset Check-Out Report, select Reports > Asset Check-Out Report. The report defaults to today's date.
|
Notes:
|
To target the data you want, do any of the following:
| To... | Then... | |
|---|---|---|
| Search |
|
|
| View a saved report | Use the Select Report drop-down to view a saved report. | |
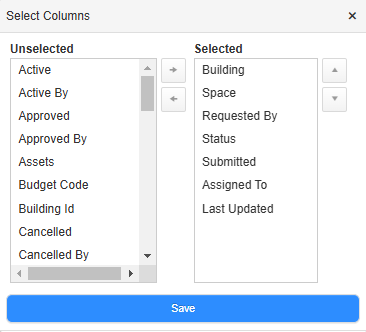
| Add or remove columns |
|
|
| Filter a column |
|
|
| Save the report |
After you select search criteria and filter:
|
|
| Print the report | Select Actions > Print PDF. The report appears in your Downloads folder. | |
| Export an Excel file | Select Actions > Export to Excel. The report appears in your Downloads folder. |
 .
.