Manage asset audits
With the Edit Asset Space permission, you can perform an audit of your assets to confirm you have counted each asset and verified its location. This permission gives you access to:
- The Perform Audit action on the following pages:
- View All Assets
- View All Assets (all fields)
- Asset tab when editing a space record
- The Manage Audit page
The page also has features to customize your view.
To perform an audit:
- Select Assets > View All Assets or View All Assets (all fields).
Note: If you want to continue work on an audit previously started, select Assets > Manage Audits. Click the audit name, and go to step 5.
- Find an asset by searching or using a filter(s).
Note: To view all assets, in the column of your choice, click
 . In the filter (
 ) section, select Check All, and then click Filter.
 -
Do one of the following:
- In the row of each of the assets you want to audit, select the checkbox.
- To select all items on a page or all items across all pages, click
 at the top of the Select all column.
Note: You can also select Locations > Manage Spaces. Search for the space where the asset is located, and then click the Asset(s) tab.
- Select Actions > Perform Audit. The Audit assets page appears.

- Do any of the following:
- Update the Audit name.
Note: The name defaults to include a date/time stamp of when the audit was created. You can edit the name any time while the audit is In Progress. - Select a Date.
- To save the audit name or date, click Save.
- Update the Audit name.
- To add additional assets, do the following:
- Select an asset's Location from the drop-down.
- Scan or type its barcode. If you have a carriage return setting for your scanner, the scan is done automatically. Otherwise, click Scan.
- For each asset already in the audit, do any of the following:
- To verify an individual asset, in the Confirmed column, select the toggle.

Note: The name of the user conducting the audit appears under Confirmed User, and a date/time stamp appears under Audit Date.
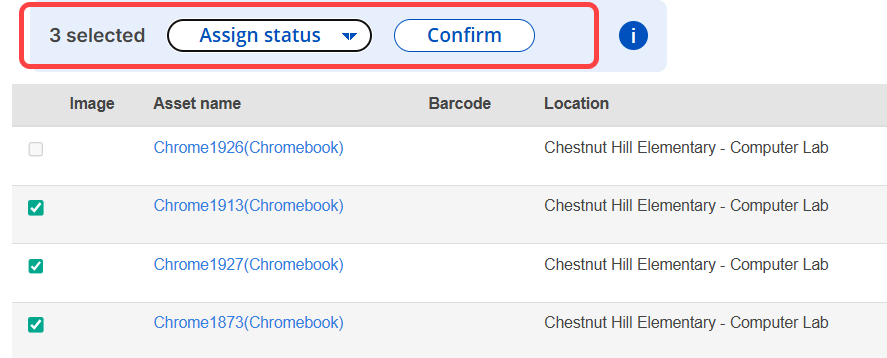
- To verify the status and/or confirm several assets at once, select the checkbox to the left of the assets. Use the Assign status drop-down to select the status and/or click Confirm.
- To verify an individual asset, in the Confirmed column, select the toggle.
- To update the asset location, status, or condition, do the following:
- In the asset row, click
 .
. - Use the drop-down in the appropriate column to select the new Location, Status, and/or Condition.

Note: Options for the Status drop-down vary based on the asset's current status. You cannot change the status to In Transit while an asset is in audit.
- Click Save in the asset row.
- In the asset row, click
- To add information about the audit, enter it in the Note field.
Note: If you do not complete an audit by clicking Submit Audit, and you want to save the note, click Back to Manage Audits.
- To remove an asset from the audit:
- Click
 . A confirmation pop-up appears.
 - Click OK.
- Click
- When all assets in the audit are accounted for, click Submit Audit.
Note: If all assets are not confirmed, a pop-up verification appears. You can either Return to Audit or Submit Anyway.
When an asset is included in an audit, an Audit tab populates on the asset record details page to track the audit history.
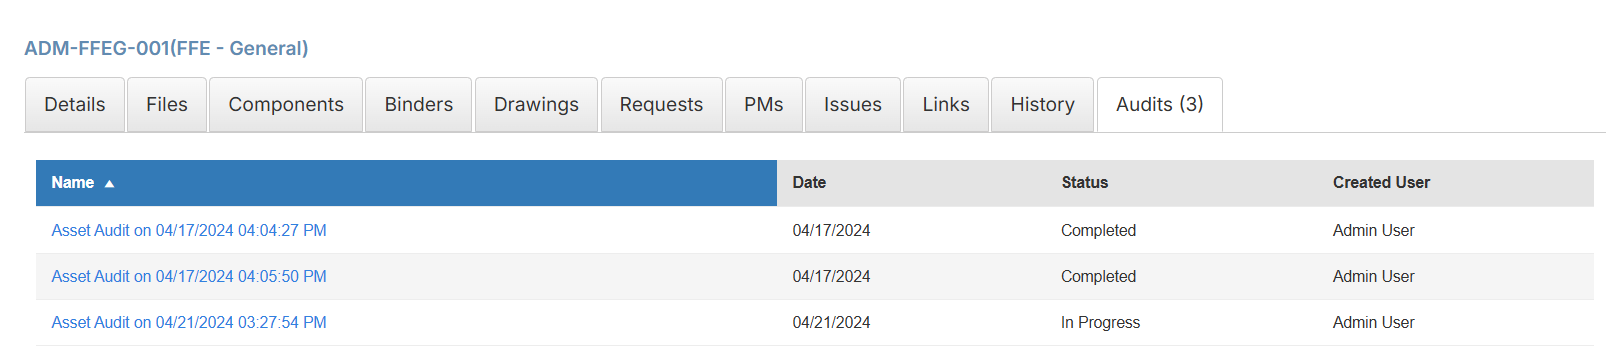
To view the associated audit, click its name. The date shows the audit creation date.
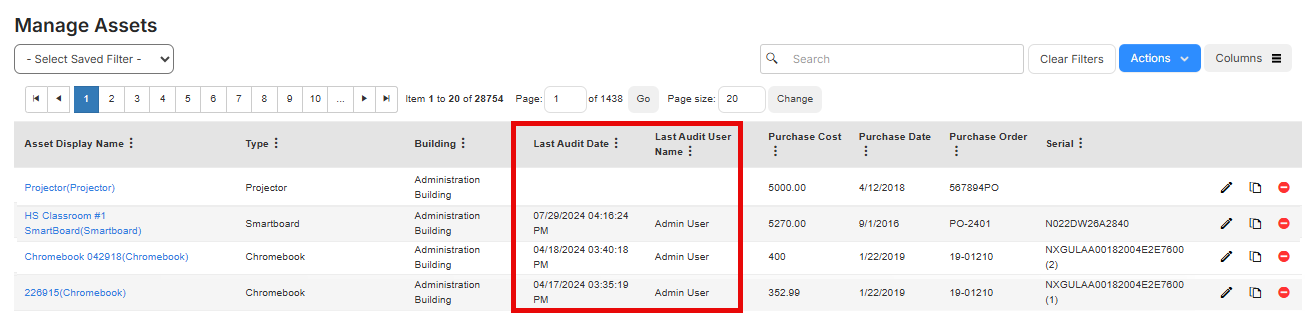
When an asset is confirmed in an audit, the Last Audit Date and Last Audit User Name are updated.
- Select Assets > Manage Audits. The Manage Audits page appears.
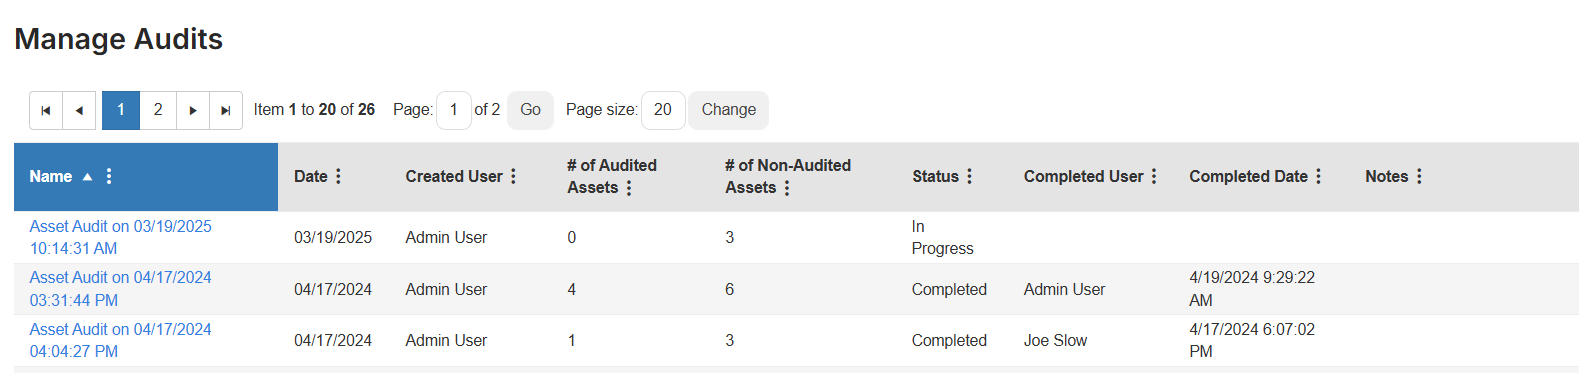
Note: When an audit is marked complete, the Audit page will show the audit as read-only to ensure accurate records for prior audits.
- Click the name of the audit you want.