Check out assets
If you have the Edit Assigned User permission, you can check out assets.
To check out assets:
- Select Assets > Check-Out Assets. The Check-Out Assets page appears.
- In the Assign To field, search for a user by name, email address, or barcode, or scan their barcode.

Note: If you have the Manage Users and Permissions administrative permission, an + Add User button appears. You can add a user that does not exist in the system. Click + Add User; the Manage User page appears, and you can add the user.
- In the Search Asset By section, select the method you want to use to search for assets.
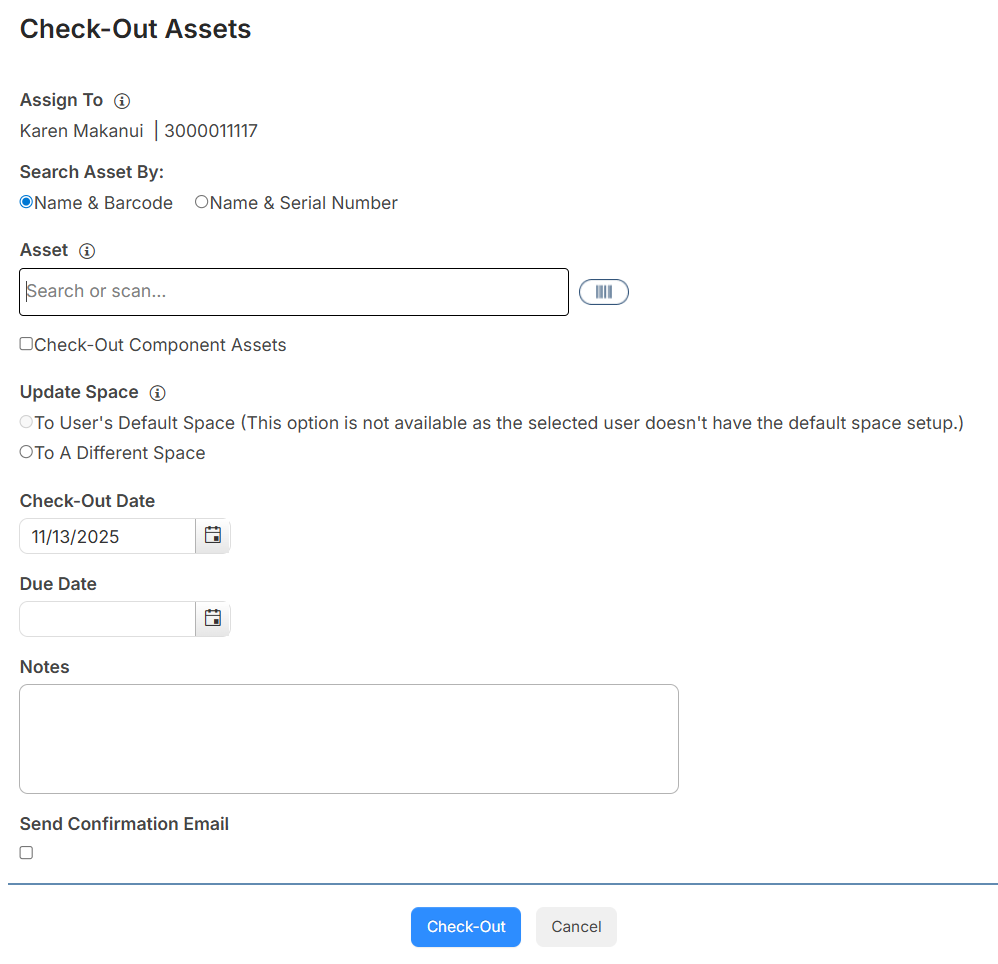
- In the Asset field, search, scan, or type the asset barcode.
Notes: You cannot check out assets with a status of Available for Parts, On Order, or Returned to Vendor.
- To check out related component assets, select the checkbox to Check-Out Component Assets.
- To update an asset's space, select an option from Update Space.
Notes:
- The Update Space section only appears if you have the Edit Asset Space permission. If you do not select an option, the space will remain the same.
- To User's Default Space changes the asset location to the user's default building or space, as per their user record.
- To a Different Space lets you select any other space from a drop-down.
- The Check-Out Date defaults to the current date. To change it, type the date or click
 .
. - To enter a Due Date, type the date or click .
- Add any Notes.
- To Send Confirmation Email to the user the asset is checked out to, select the checkbox.
- Click Check-Out.
- Click OK on the confirmation pop-up.