Approve and assign requests
Administrators with the Approve Requests and Assign Requests to Otherspermissions can approve and assign requests and subtasks. You can also bulk approve and assign requests.
To approve and assign requests:
- Navigate to pending requests by doing one of the following:
From... Then... Requests > Pending My Approval On the request you want, click
 .
.Note: The Approve/Assign icon only appears for pending and approved requests. - Dashboard
- Requests > Open Requests
- Next to a request, click the Request ID
 . The request details page appears.
- From the Pending drop-down, select Assign.
Note: You may need to click Approve before Assign is available.
Requests > View All Requests - Find a request by searching or using a filter(s).
Note: To view all requests, in the column of your choice, click . In the filter () section, select Check All, and then click Filter.
- Next to a request, click the Request ID . The request details page appears.
- From the Pending drop-down, select Assign.
Note: You may need to click Approve before Assign is available.
- The Approve/Assign Request pop-up appears.
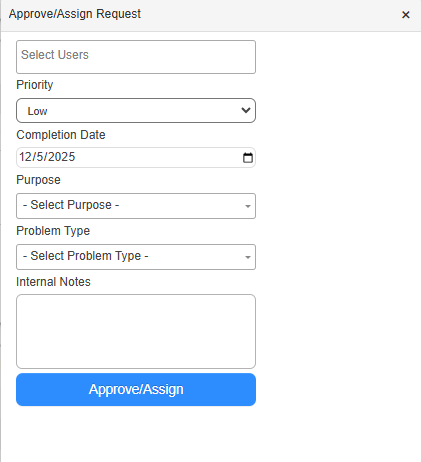
Note: Whenthatassigninga subtask, theavailablefieldsthat appearareStatus, Assign To, and Notes. - Do any of the following:
- Select the Users you want to assign the request to.
- Select the Priority.
- Review tTheCompletion Date, which defaults to the current day. Update it if needed.
- Select the Purpose and Problem Type.
- Add any Internal Notes.
- Click Approve/Assign. For a subtask, click (or Savefor a subtask).