Integrate with OneRoster student information system
OneRoster is a paid service that lets you schedule an automatic import of student, teacher, and class data.
To access OneRoster, select Settings > Integrations > OneRoster Integration.
Connection tab
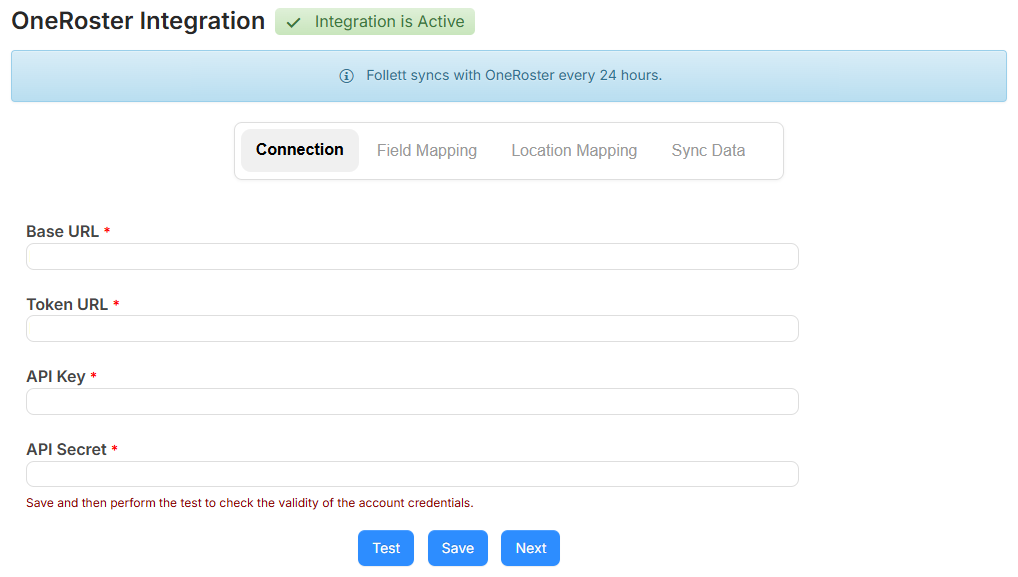
This tab lets you establish a connection to OneRoster.
To complete the Connection tab:
- Fill in the following fields:
- Base URL
- Token URL
- API Key
- API Secret
- To test the connection, click Test.
- To save the settings, click Save.
- To go to the next tab, click Next.
Field Mapping tab
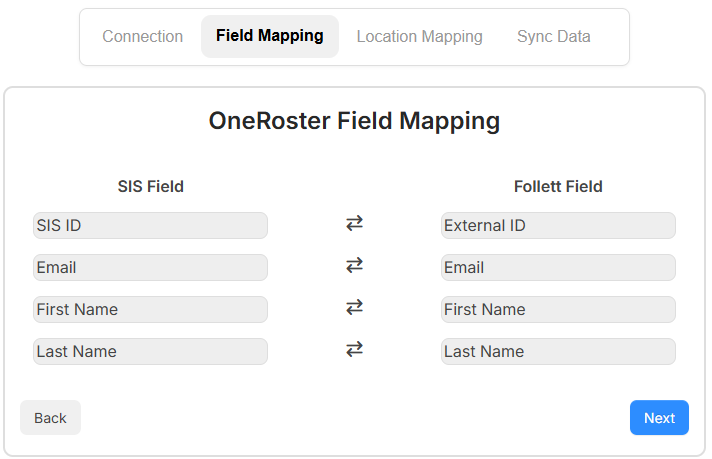
This tab shows OneRoster fields and what fields they map to.
- Map the SIS ID field to the External ID field, the Barcode field, or both.
- Click Next to move to the Location Mapping tab.
Location Mapping tab
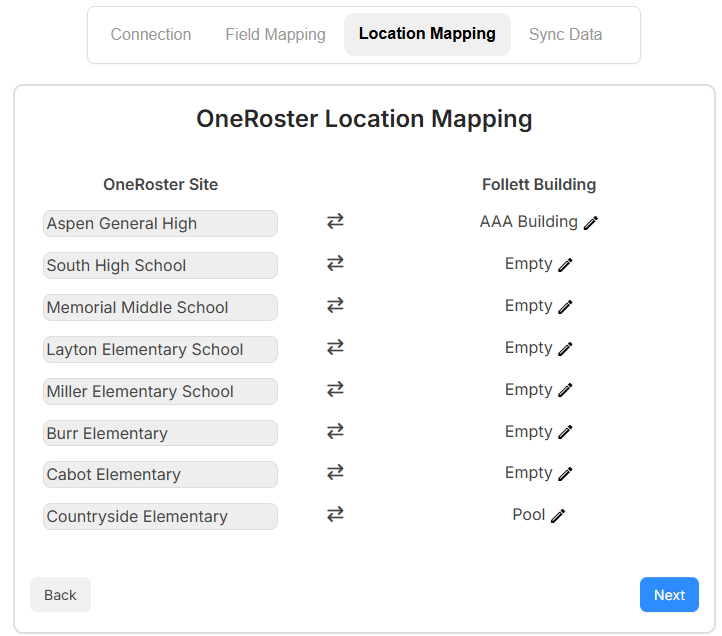
This tab lets you see OneRoster sites, and link them to buildings.
To complete the Location Mapping tab:
- To add buildings, click Configure Location.
- To map a building, click
 .
. - From the Select Building drop-down, select the associated building.
- Repeat steps 2 and 3 for each building.
- Click Next.
Sync Data tab
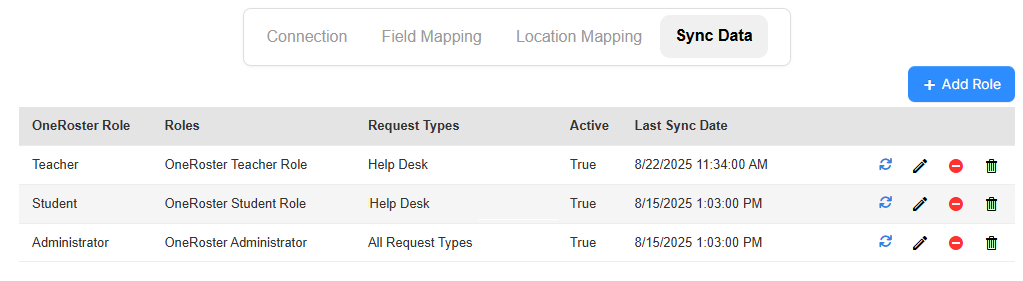
This tab lets you associate roles.
- To add a role, click +Add Role. A pop-up appears.
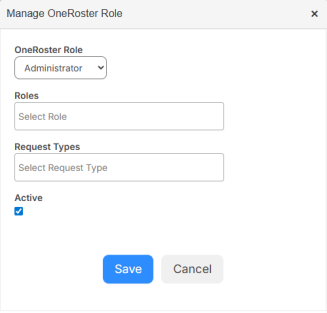
- From the OneRoster Role drop-down, select Administrator, Teacher, or Student.
- From the Roles drop-down, select the associated role(s).
- To associate a role with a request type, use the Request Types drop-down.
- If this role should be Active, ensure the checkbox is selected.
- Click Save.
- To sync data right away, click
 . Otherwise, the data will sync every 24 hours.
|
Notes:
|