Edit your profile
The Profile icon ![]() lets you update your name and location, and set your notification preferences. You can edit your profile at any time.
lets you update your name and location, and set your notification preferences. You can edit your profile at any time.
- In the top-right corner, next to your name, select
 > Profile. The Manage Profile page appears.
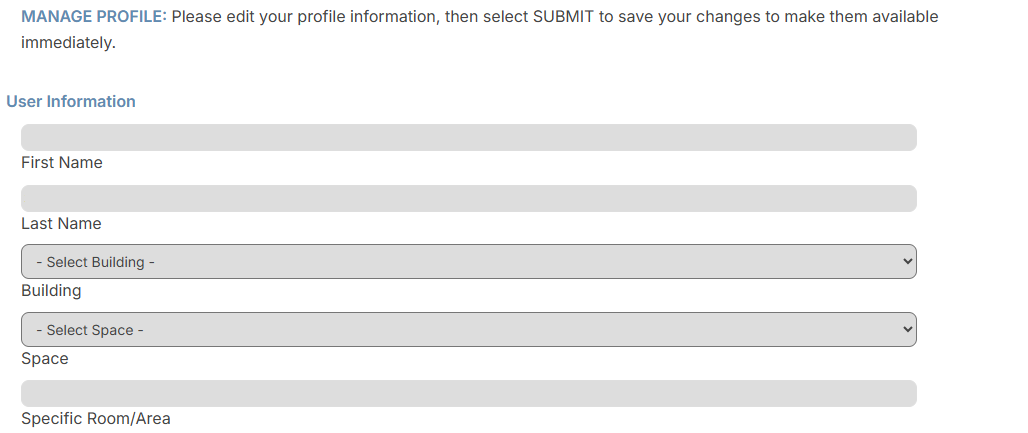
- Enter your First Name and Last Name.
- Select your Building, Space, and Specific Room/Area.
Note: Building and Space information auto-populates when you submit requests, and you do not have to select them each time.
- To enable notifications, do any of the following:
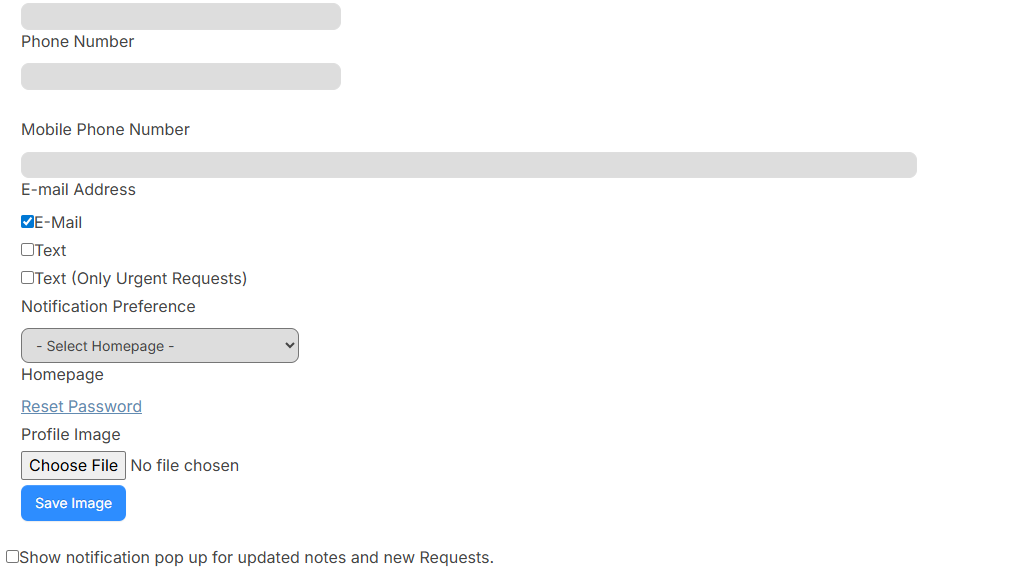
For... Then... Email notifications - Enter your email address.
- Select the E-Mail checkbox.
Note: You can set up rules in Gmail or Outlook to have notifications sent to a separate folder, instead of going to your general inbox. Search "Create rules to filter your email" in Gmail help or "Rules" in Outlook help.
Text notifications
Note: The mobile phone number will only be used for texts. - Enter your mobile phone number.
- Select one of the following checkboxes:
- Text
- Text (Only Urgent Requests)
Notes:
To limit notifications, select Text (Only Urgent Requests).
Texts are sent for the following notifications:
- Notify of Canceled Requests
- Notify of Closed Requests
- Notify of Completed Requests
- Notify of On Hold Requests
- Notify of Updated Notes
- Notify Request Assigned To You
- Notify Request Pending Your Approval
Note: The Notifications icon next to your name or profile picture will only appear if you select email or text notifications.
- To select the page that opens upon login, use the Homepage drop-down .
- Upload a profile image by clicking Choose File under Profile Image. Select your desired image and click Open, then click Save Image.
- To enable pop-up notifications, select the Show notification pop up for updated notes and new Requests checkbox.
Note: Pop-up notifications show on the secondary navigation bar, next to the scan barcode icon.
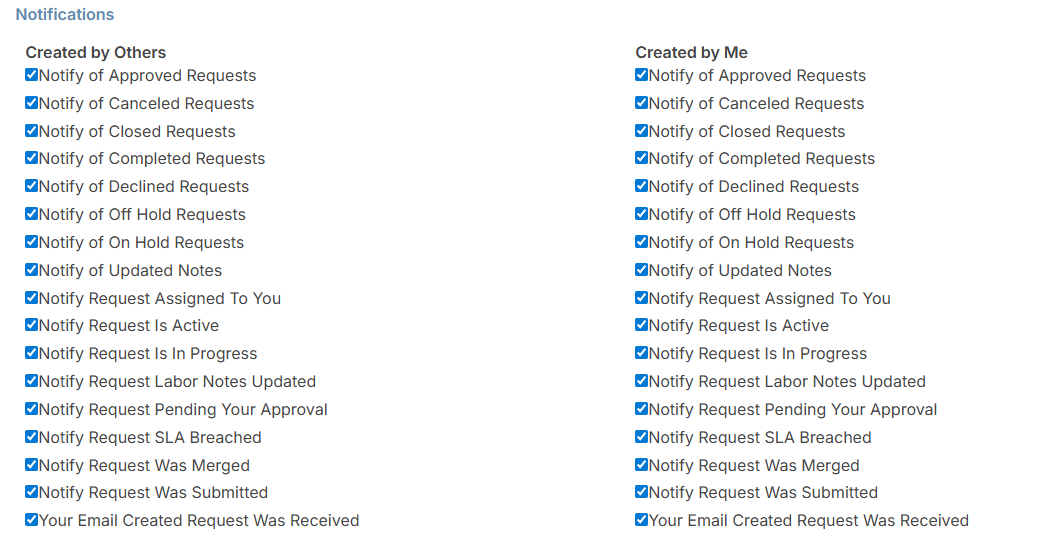
- Under Notifications, select the desired checkboxes to determine the types of notifications you want to receive.
-
To view your Effective Permissions, clickNote: To receive notifications in the Created by Others section, you must be either assigned to a request or inventory request, part of an approval path, or added as additionally-notified.
 .
. - Click Submit.