Manage asset transfers
To save money, your districts can move assets from one building to another – where they are needed. You can track the assets throughout the transfer process.
To initiate a transfer, users need the Mass Update administrative permission.
To approve, receive, and complete asset transfers, you need the Asset Transfer Admin administrative permission.
To approve a transfer:
|
Note: You only have to approve transfers if the Require Approvals on Asset Transfers setting is set to Yes (Settings > Setup Items > General Settings > Asset tab). |
- Select Assets > Manage Asset Transfers. The Manage Asset Transfers page appears.
- Next to the transfer you want to approve, click the Transfer ID. The Transfer Detail page appears.
- Select the assets you want to transfer.
Note: Assets that are in use, lost, stolen, or in transit cannot be transferred.
- Select Actions > Transfer Assets.

- Click Approve. The Transfer Status changes to Approved.
- Click Initiate Transfer.
To receive and complete a transfer:
- Select Assets > Manage Asset Transfers. The Manage Asset Transfers page appears.
- Next to the transfer you want to approve, click the Transfer ID. The Transfer Detail page appears.
- Click Receive Transfer.
- Use the Asset Status drop-down to select the applicable status.
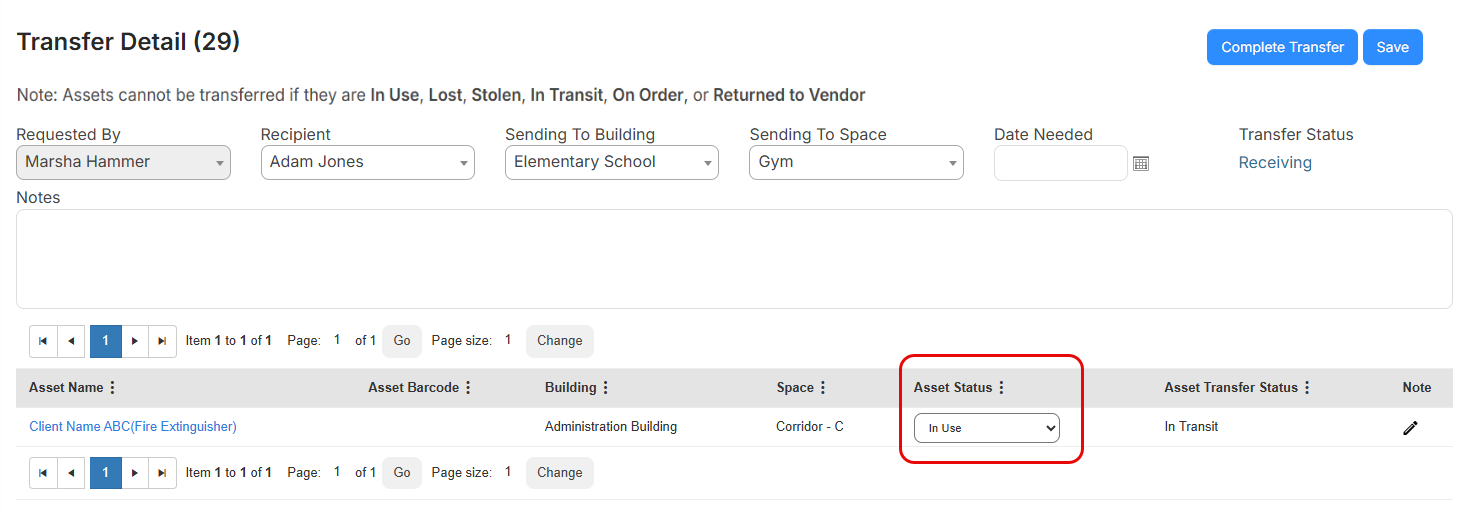
- Click Complete Transfer.