Integrate with Google Single Sign-On (SSO)
Users with the Manage District Settings user permission can set up single sign-on with Google.
This is a four-step process:
- Create a new service account within the Google API Console.
- Enable domain-wide delegation to the new service account.
- Install the JSON file in IT Asset Manager.
- Import Google users into IT Asset Manager via Google Groups.
|
Important: Because of the technical knowledge required, your district's IT administrator will most likely need to perform this procedure. |
Step 1: Create a new service account
- Go to the Google API Console.
- Create a service account.
Step 2: Enable domain-wide delegation to the service account
| Note: A user with the Google super administrator role is required to perform this task. |
- Open a new browser window.
- Control API access with domain-wide delegation.
Step 3: Install the JSON file in IT Asset Manager
- In IT Asset Manager, select Settings > Single Sign On > Google SSO Admin. The Google SSO Administration page appears.
- Next to Administrator Email Address, enter the email address for the Google domain super administrator.
Note: Administrator Email Address should be the same domain Administrator Email Address that enabled the domain-wide delegation. This email address will impersonate the service account.
- Under Service Account File, upload the JSON file that was downloaded in Step 2.
Note: This is the JSON Service Account file that was downloaded from the Google developer console. Save and then perform the test to check the validity of the service account credentials.
-
If you want to Auto Sync Google Users, select the checkbox.
- Click Save.
Step 4: Import users via Google Groups
- In IT Asset Manager, select Settings > Single Sign On > Google SSO Groups. The Manage Google SSO Groups page appears.

- Click +Add Google Group. A pop-up appears.
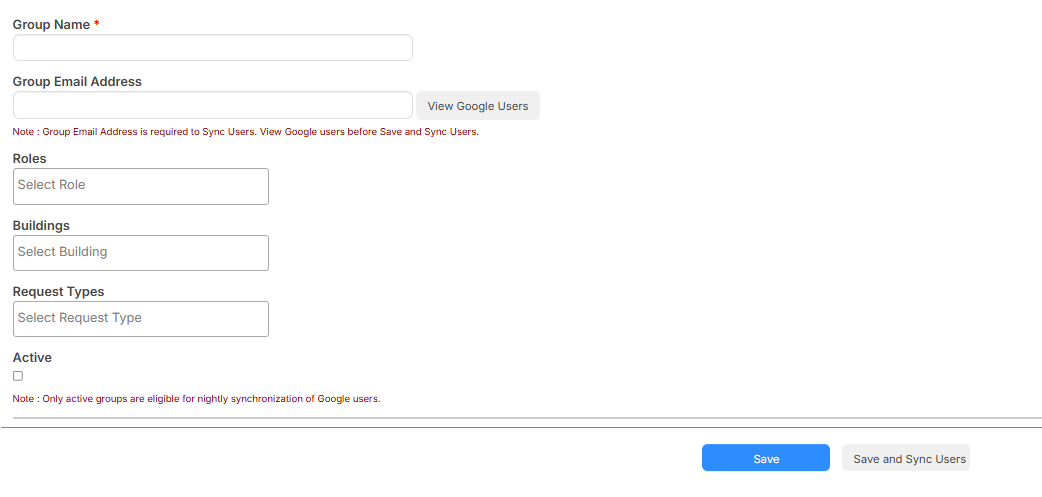
- Enter a Group Name and Group Email Address.
Note: The View Google Users button shows the users within that group. - Select the default Roles you want the users to have.
- Select the default Buildings you want the users to have access to.
- Select the default Request Types you want the users to have access to.
- To activate the group, select the Active checkbox.
Note: Only active groups are synced nightly. - Click Save and Sync Users.
- Repeat steps 2-4 for any additional Google groups you want.